ECF Capture
| Related Topics: | Workflows

|
| | How do I?

|
I | Screens

|
| | Reference

|
| | Technical

|
|
Work on this page is not saved until you click Create Job  |
Scanned or imported documents are not added to the work queue
click Create Job  or use the shortcut CTRL
+ SHIFT + C. If documents are listed on the left-hand side of
the screen, the job has not been created. or use the shortcut CTRL
+ SHIFT + C. If documents are listed on the left-hand side of
the screen, the job has not been created.
Do not leave the page if any documents are listed or all work will be lost. |
Prepare large groups of documents from multiple clients prior to scanning by using included Document Tracking Sheet (DTS) and inserting document separator sheets. The DTS and separator sheets always go before the document being scanned.
See Document Separator Sheets for how to use DTS and separator sheets.
Jump to Step (Click for List)
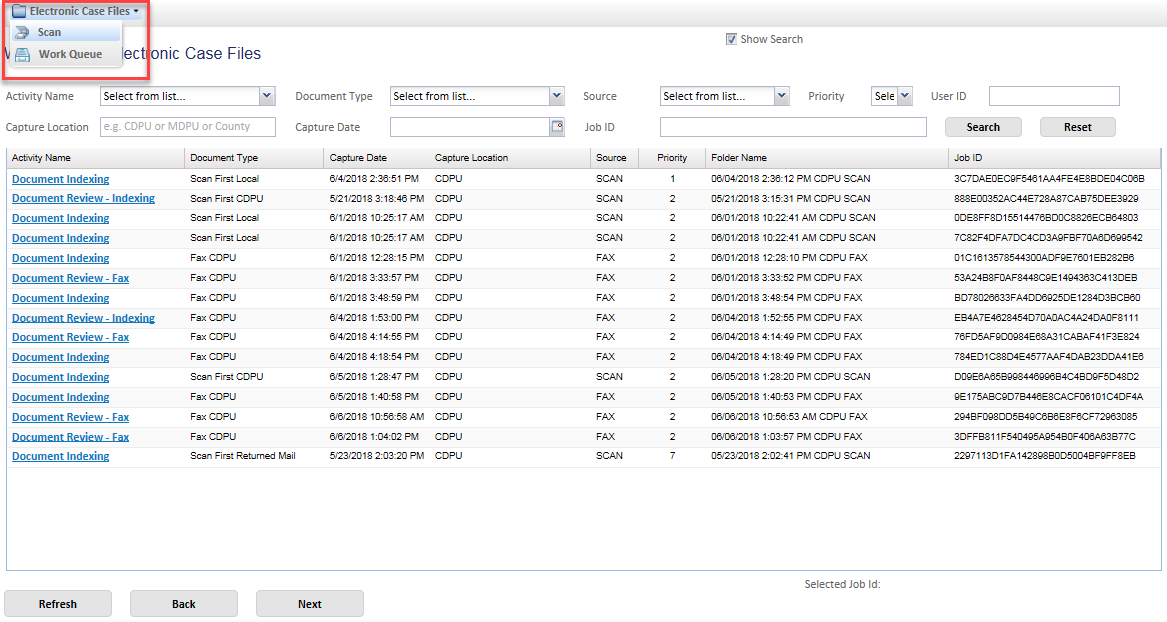
| From the Work Queue page, click Electronic Case Files > Scan | Click image for larger view
 |
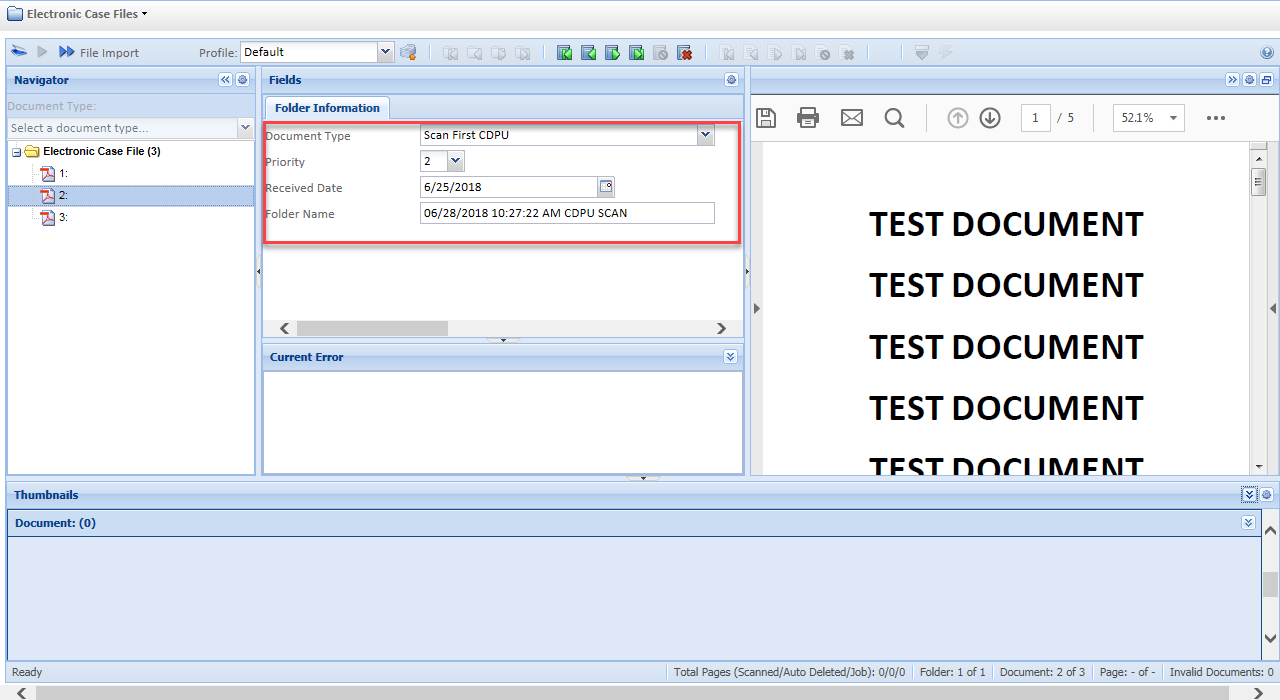
| The Document Type will default based on your user profile.
A received date must be included for Process First document types.
|
Click image for larger view
 |
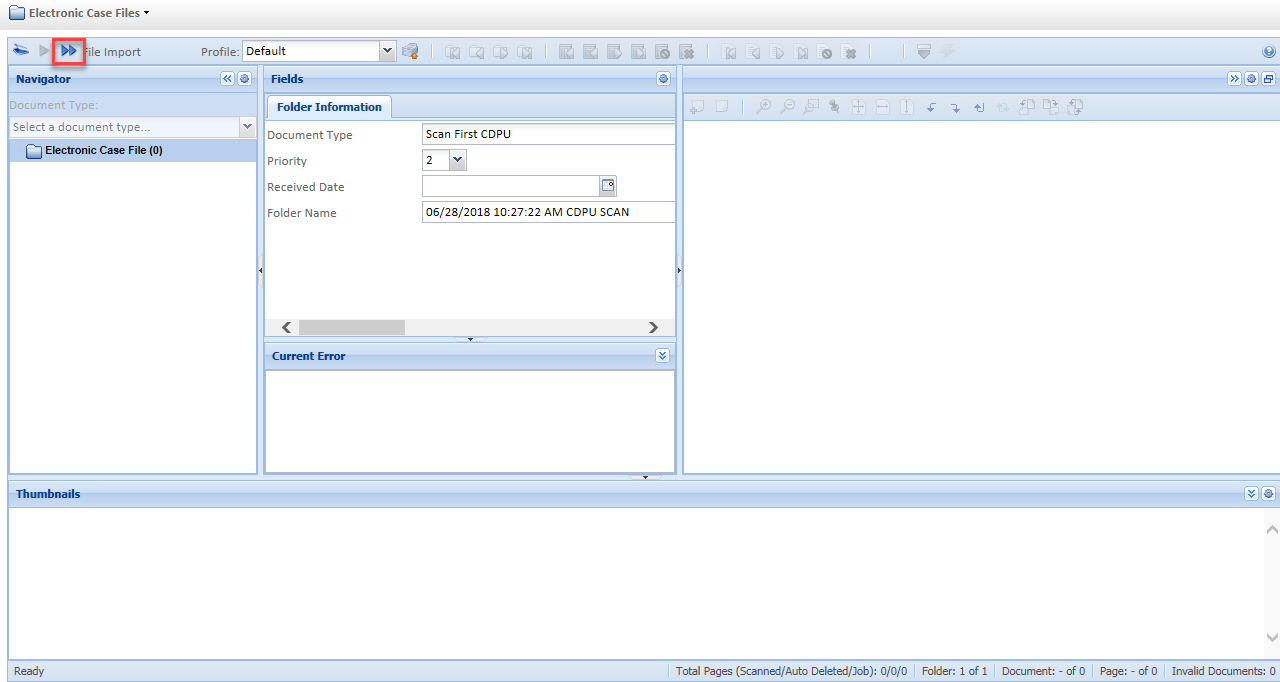
Click Scan All Sheets
|
Click image for larger view
 |
Pop-up window will appear while the scan is processing. |
Documents are listed under the Electronic Case Files folder, and pages are shown in the Thumbnails section.
The documents are split based on the use of DTS and Separator Sheets. See Document Separator Sheets for examples. 1 DTS are split into their own documents. 2 Separator Sheets are automatically deleted when the job is created (Step 5).
Go through each document to ensure it was separated and rotated correctly. |